Ahh, Valentine’s Day – the official day of romance. While lingerie, flowers and candy are the holiday’s gifting mainstays for the important lady in your life, I’m a fan of going with something a little more subtle, yet still romantic. Here are my top picks for unique, stylish presents for your girlfriend or wife on Valentine’s Day:
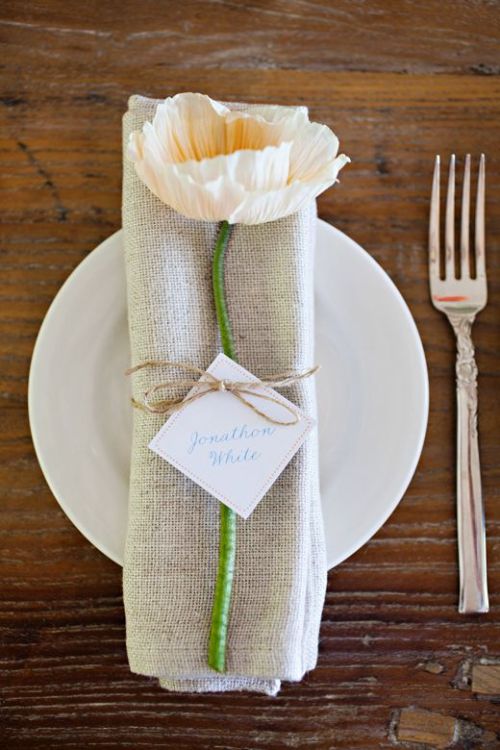
1. Scoop Back Kimono Style Robe – Pretty Plum Sugar, $68 (see photo above)
What I love about this robe is the sexy shape and beautiful fabrics – it’s less obvious than buying your lady lingerie, but she’ll love it so much that it just might have the same effect.
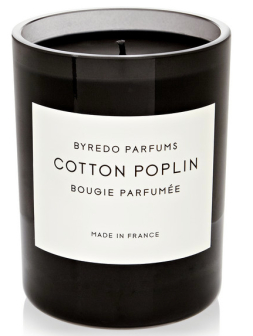
2. Byredo Cotton Poplin Candle – Net-A-Porter, $80
This candle is so simple, sleep and stylish. It’s the perfect luxurious present that avoids being cheesy, but is still a beautiful romantic gift. I mean, who doesn’t love to be bathed in candlelight?
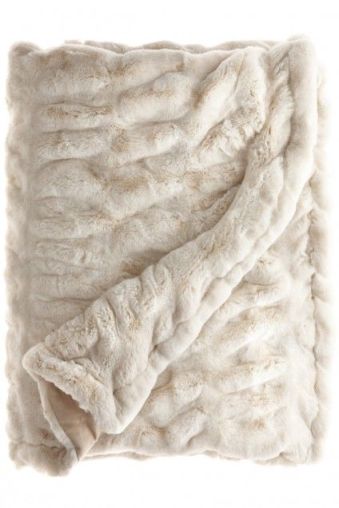
3. Faux Fur Mink Throw – Calypso St. Barth, $395
This ultra-soft and sophisticated faux fur throw is a perfect compliment to almost any home’s decor. It makes a gorgeous throw on the bed, couch, and can make a fabulous makeshift throw in front of a fireplace on Valentine’s Day too… just saying! 😉
What are some of your favorite unique, non-traditional yet still stylish ideas for Valentine’s Day presents? Or what is the favorite gift you’ve ever received for Valentine’s Day? Leave us some love below, we want to hear from you!
Happy Valentine’s Day, all!
XOXO Yelena